

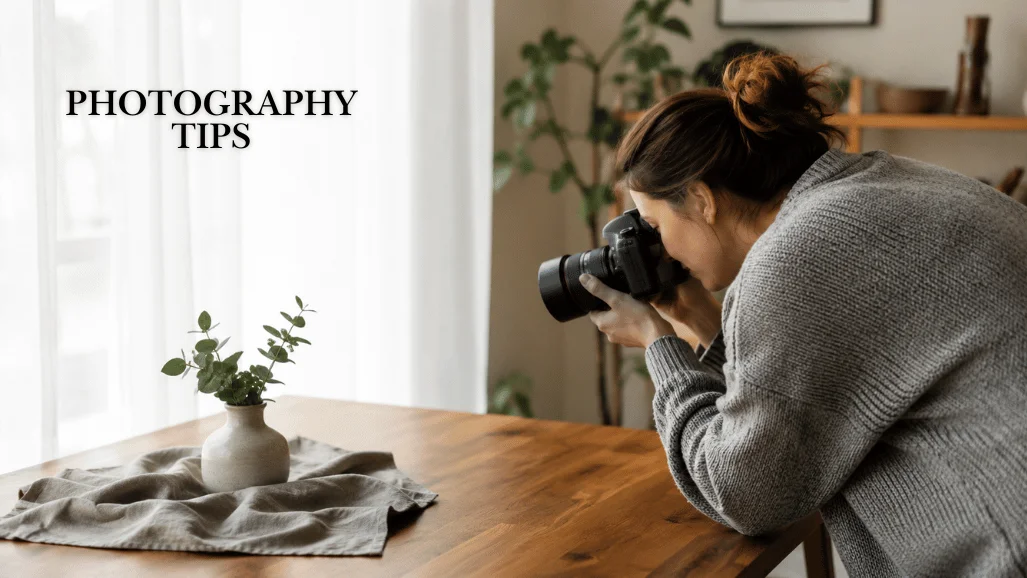
The most useful photography tips are simple: find better light, decide what the photo is about, steady the camera, and review your results. You can practice every one of those habits with a phone or camera.
Quick comparison
| Option | Best for | Why it stands out | Budget |
|---|---|---|---|
| Light | Shoot near soft window light | Better skin tones and detail | |
| Subject | Name the main subject | Clearer composition | |
| Focus | Tap or select the subject | Sharper important detail | |
| Exposure | Watch highlights | Fewer washed-out areas | |
| Review | Check one mistake after each set | Faster improvement |
TL;DR
- Start with the use case, not a feature list.
- Keep the setup simple enough to use every week.
- Compare the tradeoffs before paying for premium extras.
Start with light, not equipment

Turn toward open shade, a window, or the softer hours near sunrise and sunset. Harsh overhead light can create deep shadows and distracted expressions. Before changing settings, move yourself or your subject a few steps.
For a related plain-English resource, see our practical how-to tutorials.
Give each frame one job
Ask what the viewer should notice first. Then remove distractions from the edges, change your height, or move closer. The rule of thirds can help, but a strong subject and clean background matter more than any grid.
Make sharpness intentional
Hold the camera with both hands, pause before pressing the shutter, and focus on the most important detail. For people, that is usually the nearest eye. In low light, use support or accept a brighter scene rather than relying on luck.
Build a repeatable practice loop
Choose one small assignment each week, such as shadows, color, motion, or portraits. Take several versions, select one favorite, and write down why it worked. Browse our practical how-to tutorials when you need a focused skill to practice next.
How to make a confident choice
- Write down the task you do most often.
- Set a total budget that includes accessories or subscriptions.
- Try the simplest option that meets the task.
- Review after one week and adjust only what blocks progress.
This method keeps the choice practical. It also prevents a long feature list from replacing a real decision. A focused setup is easier to learn, easier to maintain, and more likely to deliver the result you wanted.
A practical example

Imagine you are making the decision on a busy Tuesday evening. Open a note and describe the job in one sentence. Then list the conditions that make the job harder: poor light, a noisy room, a small screen, travel, a tight deadline, or a limited budget. Compare each option against that short list. This shifts the question from which option has the most features to which option makes your normal task easier.
Next, make a tiny test plan. Use the option for one ordinary task, one slightly difficult task, and one task you actually enjoy. Record what slowed you down. A product, tool, or technique that seems impressive in a review can be frustrating when its controls, setup time, or upkeep do not fit your routine. That is why a short test provides more information than a generic star rating. Also worth reading: Star 67.
Keep your first setup deliberately small. Add only the accessory, template, setting, or workflow step that solves a real problem. You can expand after you have a repeatable habit. This approach also protects your budget by making optional upgrades earn their place rather than becoming automatic purchases. Stop. Make the next choice only after you learn how the first one performs in ordinary use, because real habits reveal costs and frustrations that no comparison chart can predict. There is more on this in DLC Meaning.
What people often get wrong
The common mistake is choosing an imagined future rather than the task in front of you. Beginners may buy advanced controls before learning the basics. Busy people can choose an elaborate system that is difficult to open each day. Some shoppers focus on one headline specification while ignoring comfort, compatibility, support, or the ongoing cost of using it.
Another mistake is treating a recommendation as a universal verdict. Good recommendations have a context. They explain who benefits, which tradeoff is involved, and who should look elsewhere. Use the comparison table to narrow the field, then read the section that matches your situation. If two options still seem tied, choose the simpler one or the option with an easier return policy.
Finally, do not wait for perfect certainty. You only need enough evidence to make a sensible next choice. Set a review date after a week or a month. If the option is helping, keep it. If it creates friction, change one variable and test again. That process is calmer, cheaper, and more useful than restarting the research from scratch.
Decision checklist

Before you finish, check five things. Can you explain the main job in one sentence? Does the option work with the device, space, and time you already have? Can you afford the full setup rather than only the first purchase? Is there a low-risk way to test it? And do you know the one tradeoff you are accepting? If you can answer those questions, you have enough clarity to move ahead.
Save the checklist with your notes. It becomes useful the next time a new feature, sale, or recommendation distracts you from the original goal. In the United States, set a total budget in USD, such as $100 for a starter setup, before you compare extras. The best choice is rarely the most complicated one. It is the choice you will use consistently and understand well enough to improve. Do that first. Then stop comparing.
Before you share results or settings publicly, review our guide to locking a Facebook profile for a quick privacy reminder.
Next step
Choose one option, make a short checklist, and test it with a real task this week. A small practical test reveals more than another hour of comparison.
Frequently asked questions
Learn to notice light and choose a clear subject. Those skills improve every camera.
Start with auto or aperture priority, then change one setting at a time as you learn how it affects the shot.
Make small themed photo sets and review them with a specific question, such as whether the subject is clear.